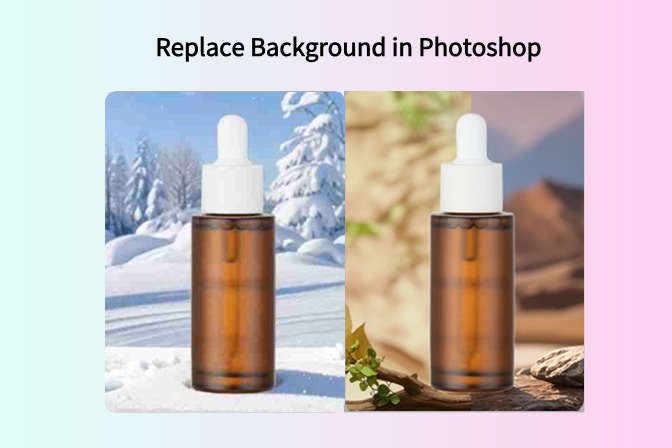
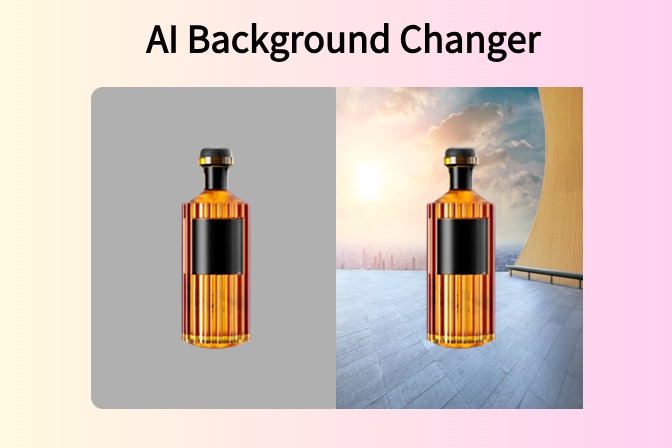
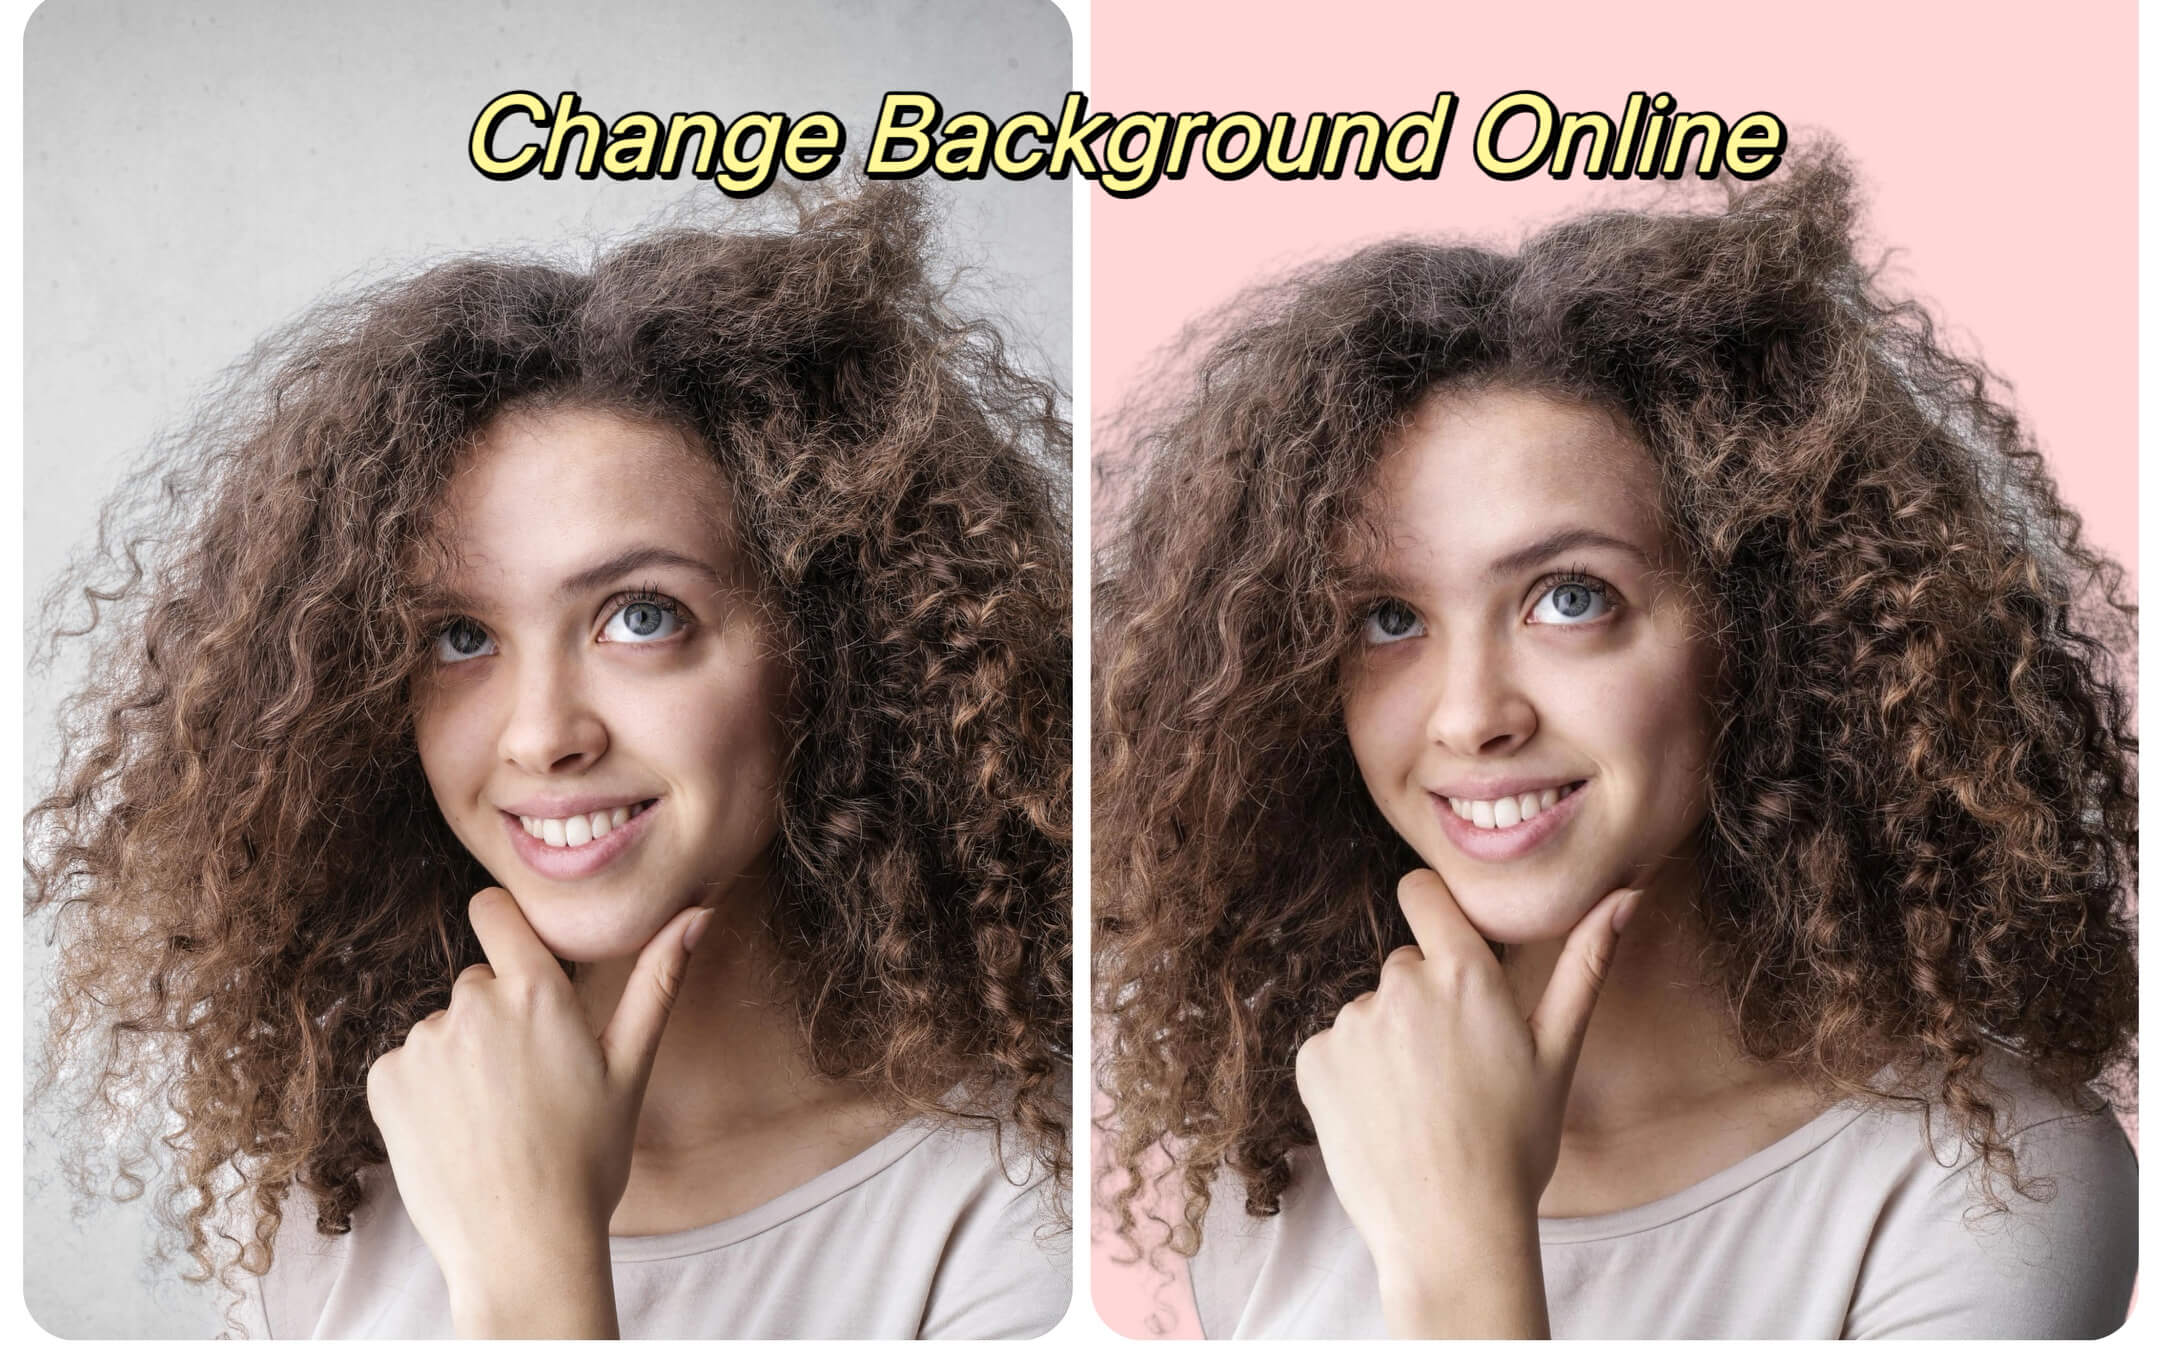
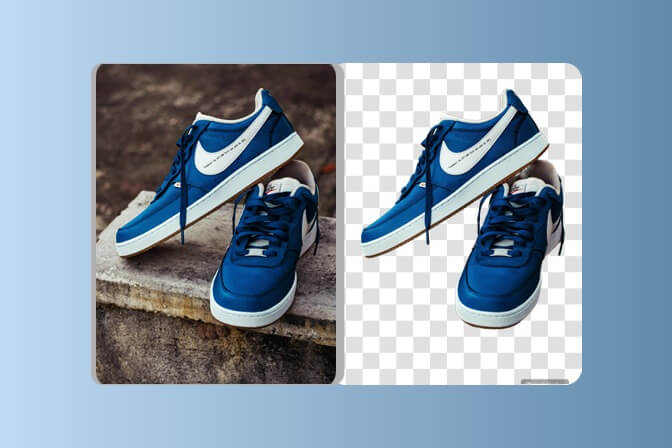
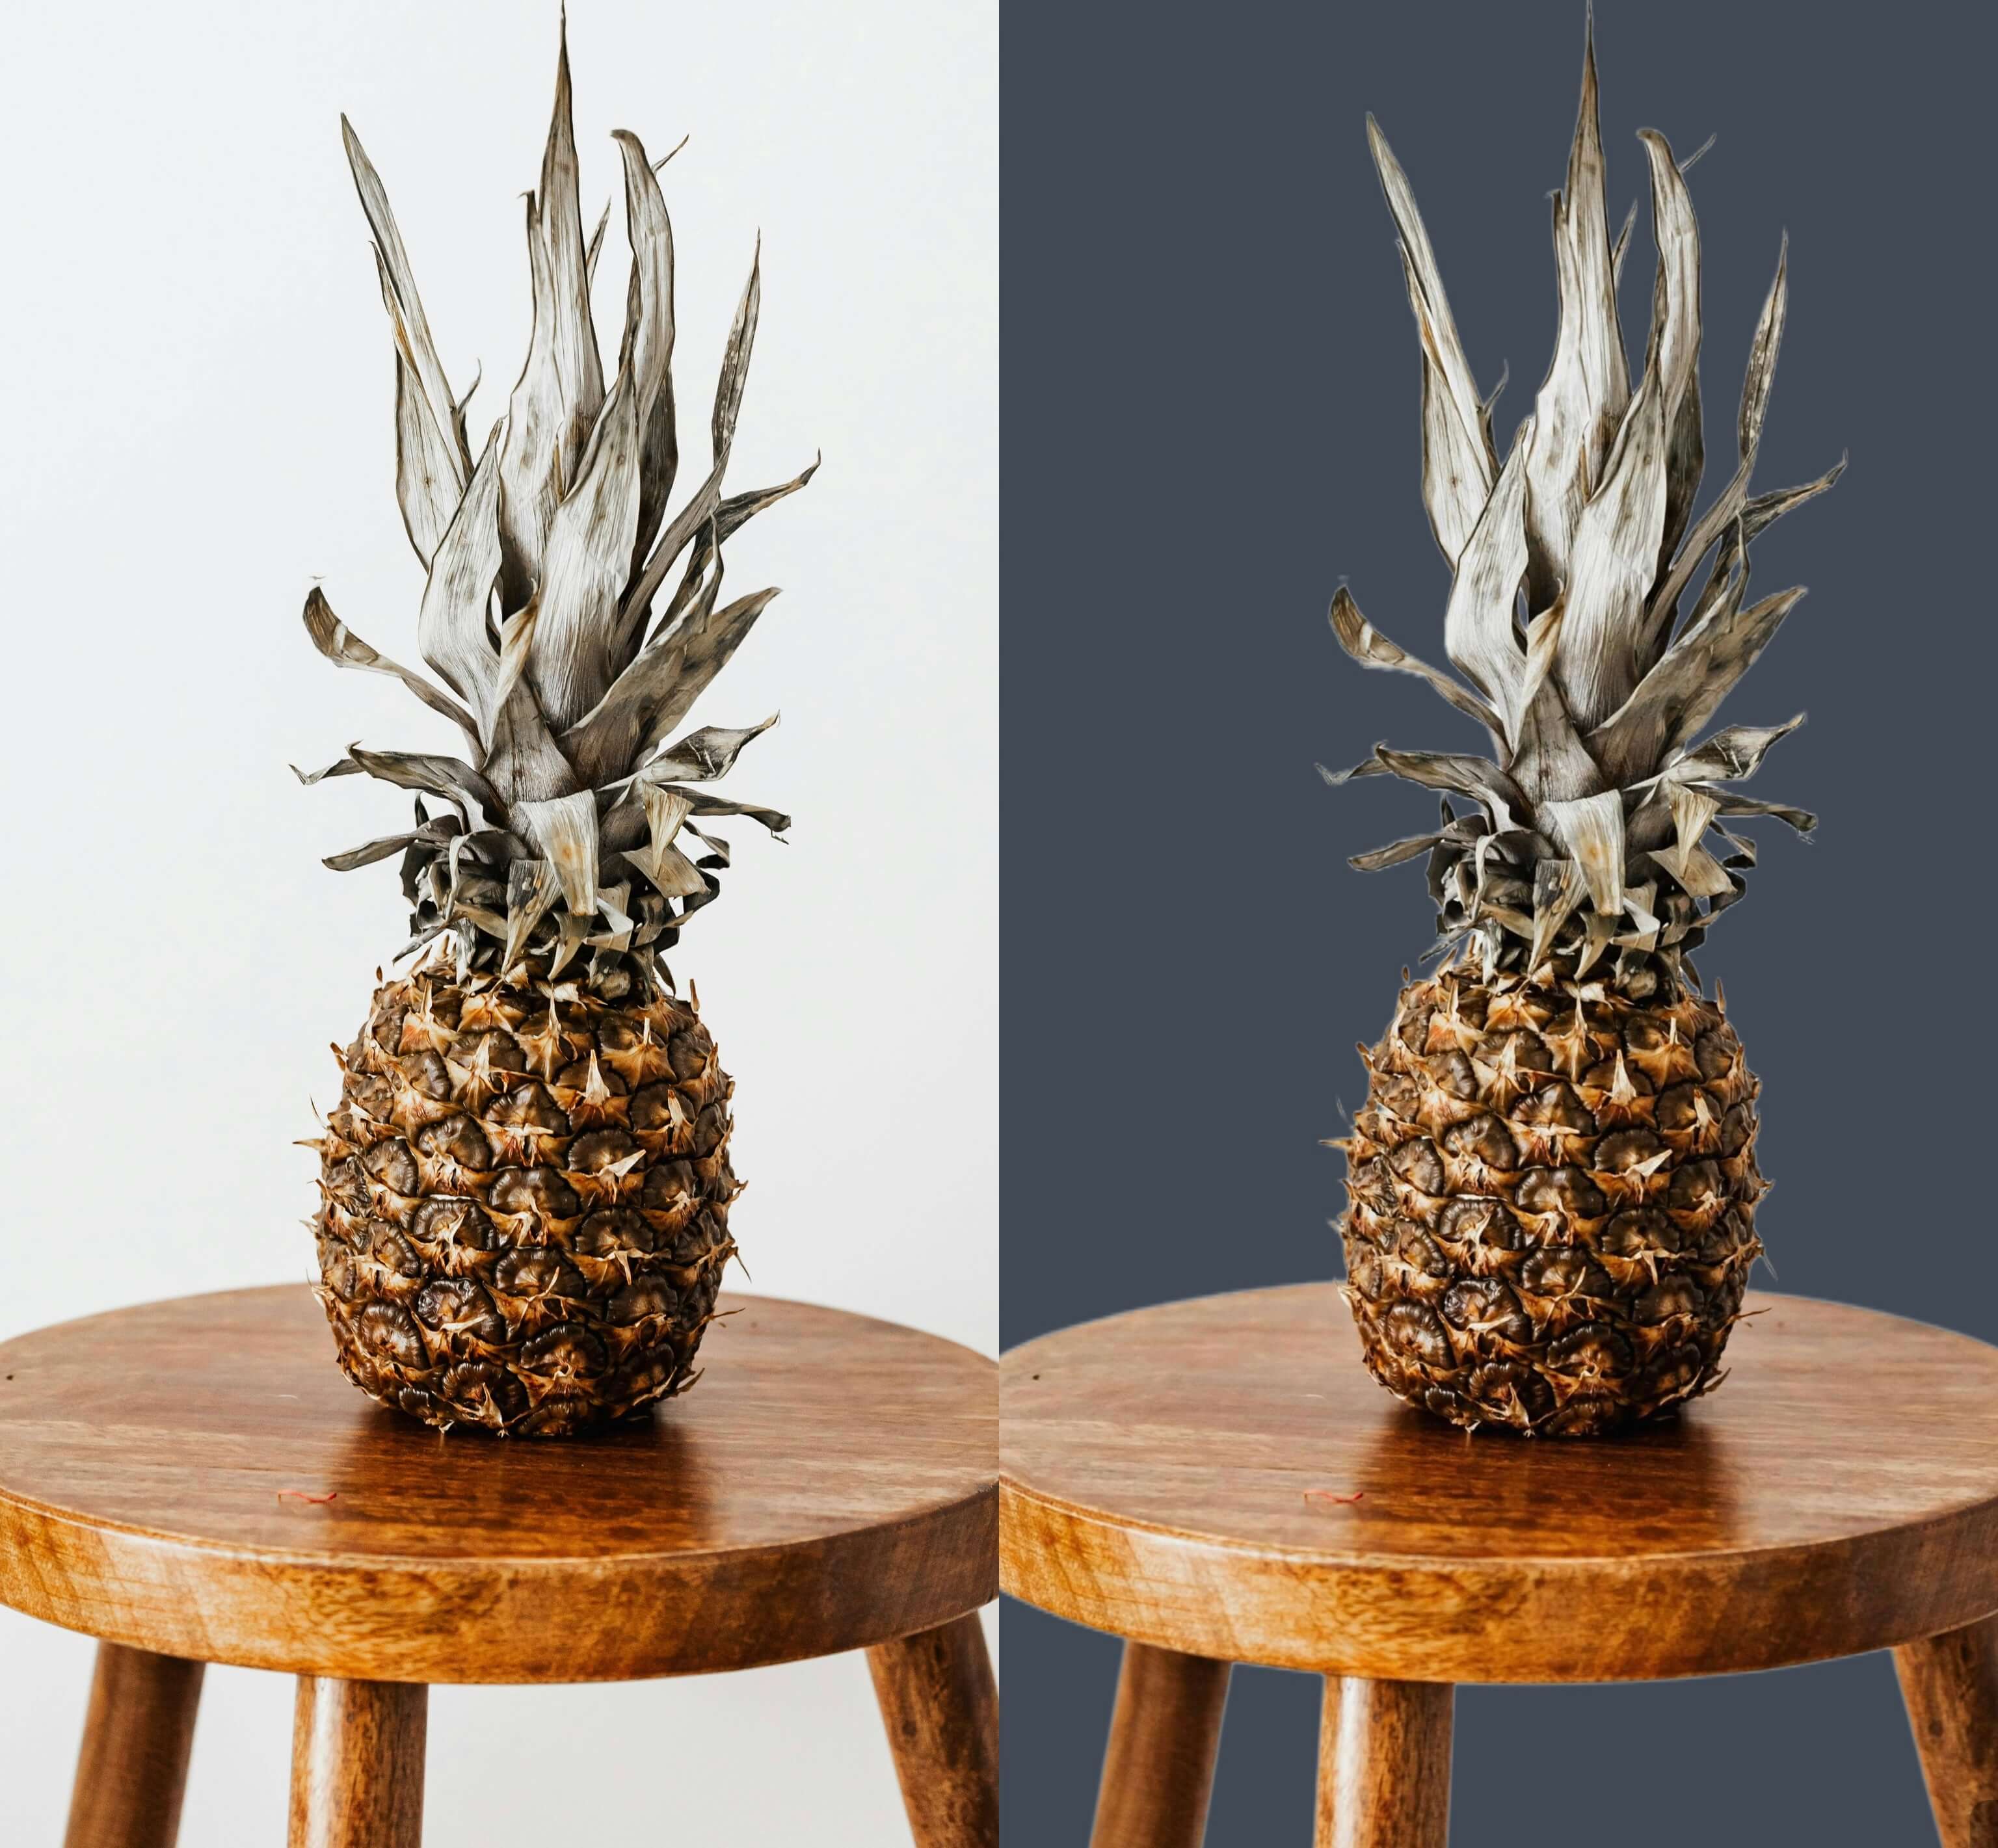
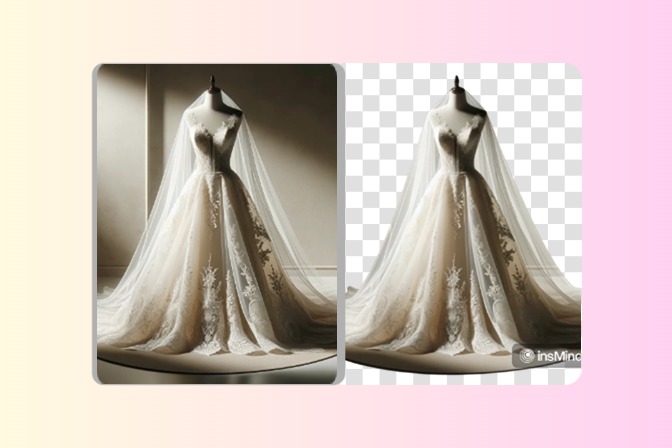
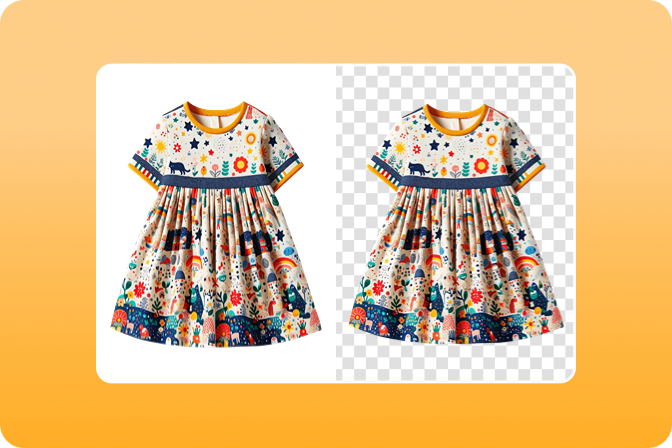
You may lose focus on the subject when you capture the ideal shot, and one of the background features distracts you, like a streetlight. There are two ways to fix this problem and achieve the ultimate and high-quality result. You can try the partial background remover, which lets you control which areas to erase from a photo.
In comparison, for a quick removal process, the AI background removal tool can help remove the entire background and replace it with a new one. This article will explore both approaches and outline their benefits and use cases.
Table of Contents
Key Takeaways
Partial background removal helps you highlight the critical subject while removing the background to create a balanced image, which makes it perfect for various platforms.
- It helps images stand out with a professional and artistic look, giving more control over how the photo looks and feels.
- This technique lets you remove a specific part of the background behind a subject while keeping other parts of the background intact.
- With this tool, you can improve your workflow and the quality of visual content creatively.
- Using the insMind background remover lets you control the cutout, offering a high-quality result.
- insMind transparent background tool offers solid and pre-made backgrounds for you to try.
Part 1. What is Partial Background Removal? Understanding Common User Cases
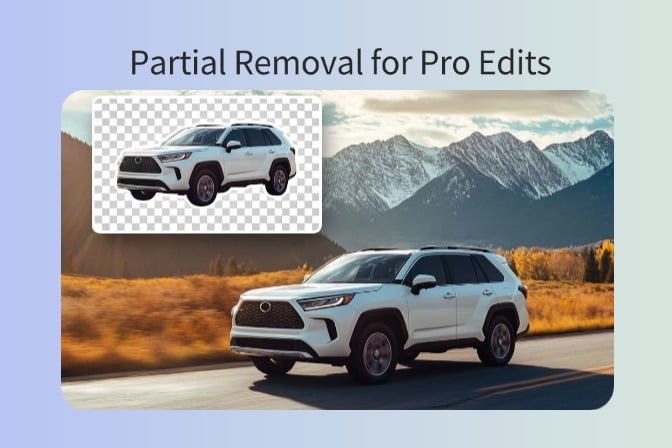
Partial background removal is an image editing technique that allows you to remove specific background areas from an image. Unlike fully removing the background, this method allows for creative control, letting you add other backgrounds. Moreover, it is often used to highlight the subject more effectively without losing the natural environment entirely. This technique helps images look polished and professional with a unique visual style.

Real-Life Use Cases of Partial Background Removal
The following are some of the everyday use cases of this partial removal tool, which can help graphic designers and photographers:
- Product Photos: It helps you by cutting out messy or distracting parts, like random objects, to make your product pop.
- Polished Portraits: With this, you can get rid of unwanted messy walls, wires, and other background objects to emphasize the subject in the picture.
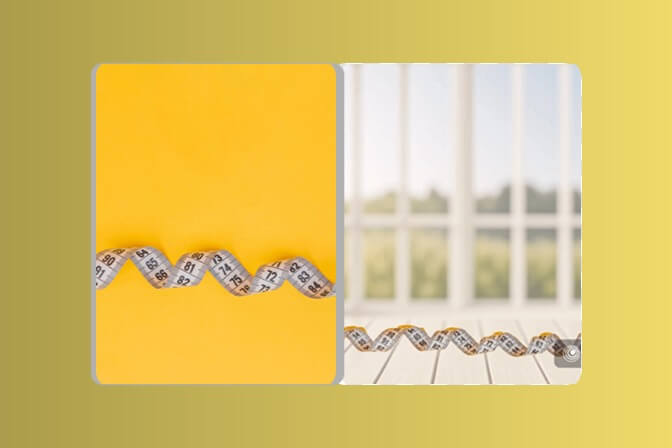
- Creative Edits: Removal isn't only about cleaning images, it's about combining parts of the original background with new graphics or colors.
- Social Media Content: Social media influencers can make striking thumbnails, Instagram posts, or story images by replacing the messy background with another.
- E-commerce Listings: For online stores, using a partial background remover lets you adjust photos according to marketing standards.

Part 2. Why Use Partial Background Removal Tools: Key Benefits
There are various benefits of using a partial background removal tool, and some of them are listed below for you to explore:
- Highlights the Subject: For a more appealing picture, these tools help isolate the main subject from the background to draw in the viewer's attention.
- Professional Images: You can create professional visuals with the use of such tools and elevate your image aesthetics.
- For Branding: Companies can use the partial background removal tool to create consistent, clean product images for their online stores.
- Eye-Catching Visuals: If you want to post engaging content on social media, using the partial background remover can allow you to add creative effects.
- High-Quality Results: With their advanced algorithms, they ensure precise removal while preserving fine details of the image in professional-looking photos.

Part 3. Explore the Best AI Tool for Partial Background Removal | insMind
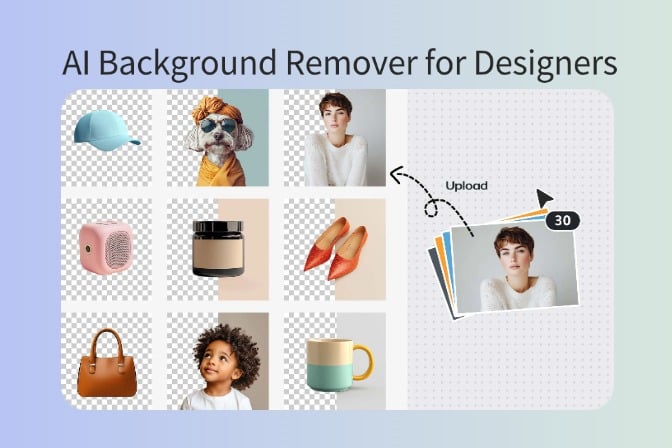
If you're looking for the most reliable and accurate partial background remover tool, insMind is your best bet. This tool automatically removes backgrounds, preserving all the fine details within an image, like hair and edges. Moreover, it allows you to upload over 30 images for a quick and seamless batch removal process. After the automatic removal, users can manually refine edges and adjust the cutout areas for a professional finish.
insMind also offers a simple upload-and-go process and a preview option for you before you can download it in HD quality. Therefore, go through the following instructions and perform partial background removal with precision:
Step 1. Upload Image Through insMind’s Workspace
In the "Home" tab, press the "Upload Image" button under the "Get Started" section, and insert an image from your device. Here, you can also access "AI Tools," "Batch," "Inspirations," and other options for creating a stunning image.

Step 2. Access the Edit Cutout Option
On the next screen, click the "Edit Cutout" button to proceed to the main editing interface. This screen also provides "Color" and "Photo" options, where you can access a wide range of solid colors, pre-generated backgrounds, and even upload your own.

Step 3. Choose the Edit Cutout Feature
After that, click the "Edit Cutout" option from the toolbar above the image, which offers options such as "Crop to Edge," "Cancel," and "Apply."

Step 4. Adjust the Background Cutout
When the "Auto Cutout" window opens, access the "Restore" tool and adjust the "Brush Size" and "Brush Hardness" scales. Now, brush over the area to bring back the background and avoid unwanted ones. Here, you can also access the "Mode" option, which provides 3 "Recognition Types," like "Portrait," "Product," and "Graphics." Within the "Erase" tool, you can get the same brush options to erase the bleeding background.

Step 5. Apply the Cutout and Download the Image
When satisfied with the cutout, hit "Done," and press the "Apply" option to finalize the cutout. Now, open the "Download" menu, choose a suitable "Format," "Quality," and click "Download."

Beyond background removal, you can access other tools, like Image Enhancement, Magic Erase, Expand, and more. insMind stands out as a powerful all-in-one online photo editor, which provides you with precise background removal AI. Creators can get professional results suitable for various creative and commercial needs within seconds. Moreover, you are not limited to only the remover, but can access other image editing tools for enhanced visuals. So, try this tool out for yourself today for free.
Part 4. Pro Designer Secret – Using Transparent Backgrounds for Next-Level Visuals
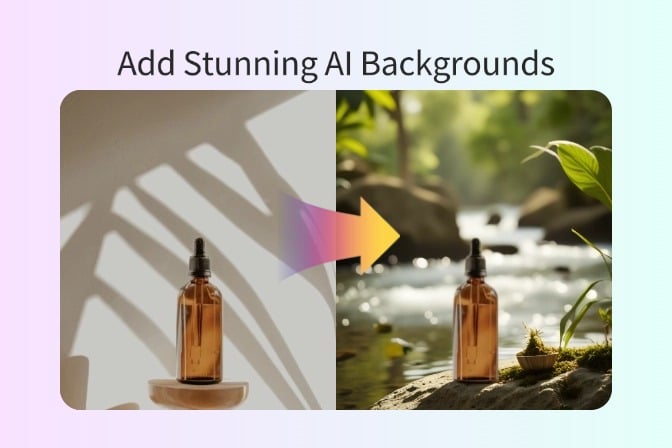
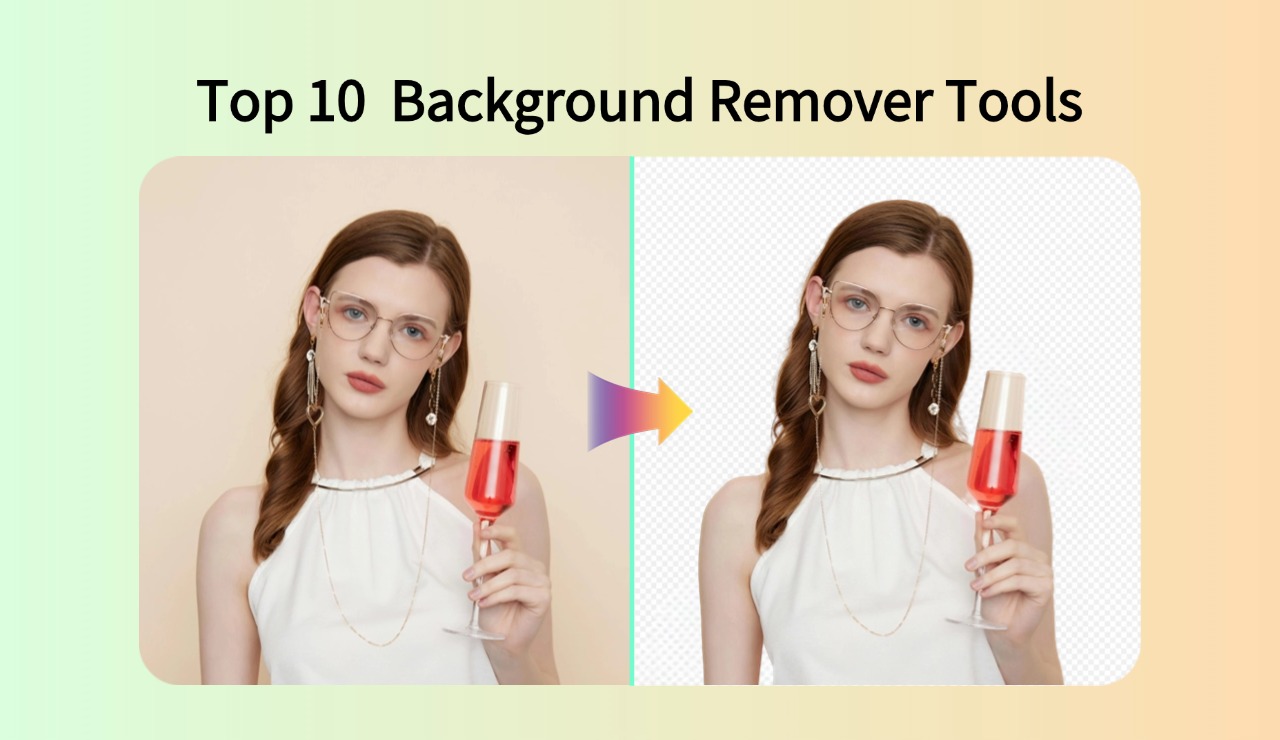
For marketing teams and social media influencers, insMind offers a seamless way to make their image background transparent. It uses advanced AI to instantly detect the subject and remove the background with high precision, including fine details. Moreover, once removed, the user can replace the backgrounds easily with colors, photos, or backgrounds created by AI.
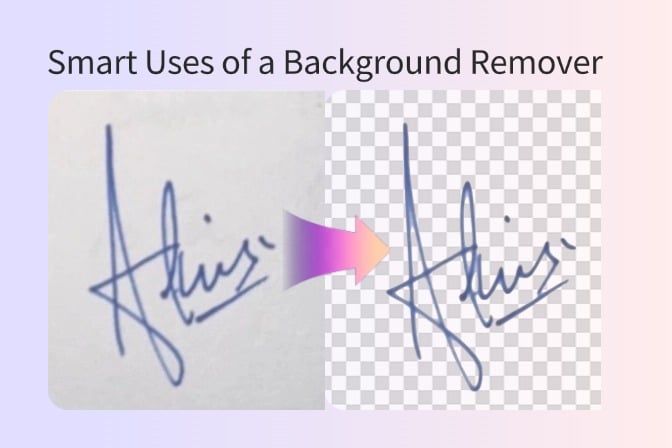
Logos, signatures, and even complex images can be made clear and can be used to brand or in e-commerce, presentations, and so on. The tool ensures that the PNG images are sharp and clean and can be used in social media and in creative projects. Go through this step-by-step tutorial to learn how to remove the complete background with insMind:
Step 1. Insert the Desired Image on insMind
Press the "Upload a Photo" button, and from the opened dialogue box, choose an image to insert. It even allows you to drag-and-drop or insert an image URL. Aside from that, you can click the "Bulk Background Remover" button to add multiple images or experiment with the "Try With One of These" section pictures.

Step 2. Preview the Change and Download in HD
After the image is uploaded, preview the result by pressing the "Hold to Compare" button, and if not satisfied, click "Reupload" to add another image or use the Edit Cutout option. Once happy with the transparent image, hit the "Apply to Download HD" button, or click "Download Standard" to save it on your device.

Use Cases of the insMind Transparent Background Tool
Users can find multiple user cases for this transparent AI background, and some of them are given in the following:
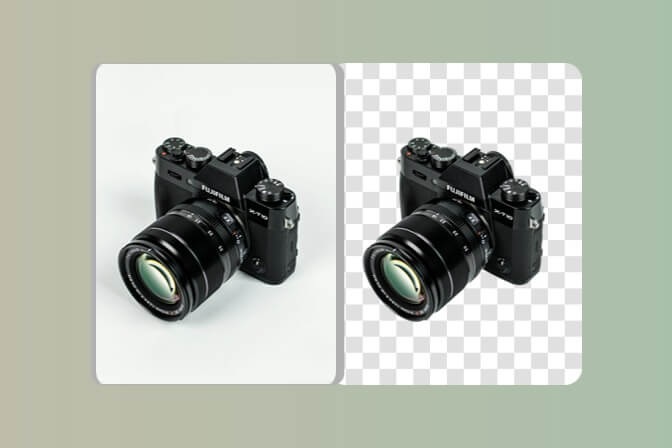
- Product Photo: Users can utilize this tool to make their e-commerce products friendly and, according to the store's requirements, with a transparent background.
- Signature Images: With this AI transparency, you can make the background transparent and create clean, professional-looking signatures for digital documents.
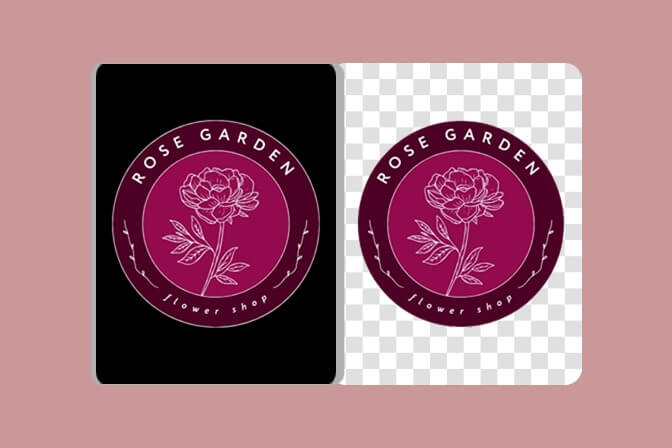
- Logo Background: insMind allows you to separate the logo from its background, so you can use it across various branding and personalize it with the desired style.
- Social Media and Presentations: It can quickly create transparent photos that you can use in slideshows or social media posts, enabling creative overlays and branding.
- General Creative Projects: A transparent background allows creators to create unique designer projects, marketing collateral, and promotional materials with enhanced aesthetics and visuals.

Conclusion
In the end, this article demonstrated how creators or graphic designers can make their images better and more visually professional. The insMind partial background removal and transparent background tools take your pictures to the next level and make them market-ready. Not only that, but after understanding how this process works and what its key advantages are, you know that insMind is the best option for you.
Jayson Harrington
I am the Chief Editor of insMind. I provide tips and skills to help users design better photos with insMind, whether for e-commerce, social media, or any other use.


