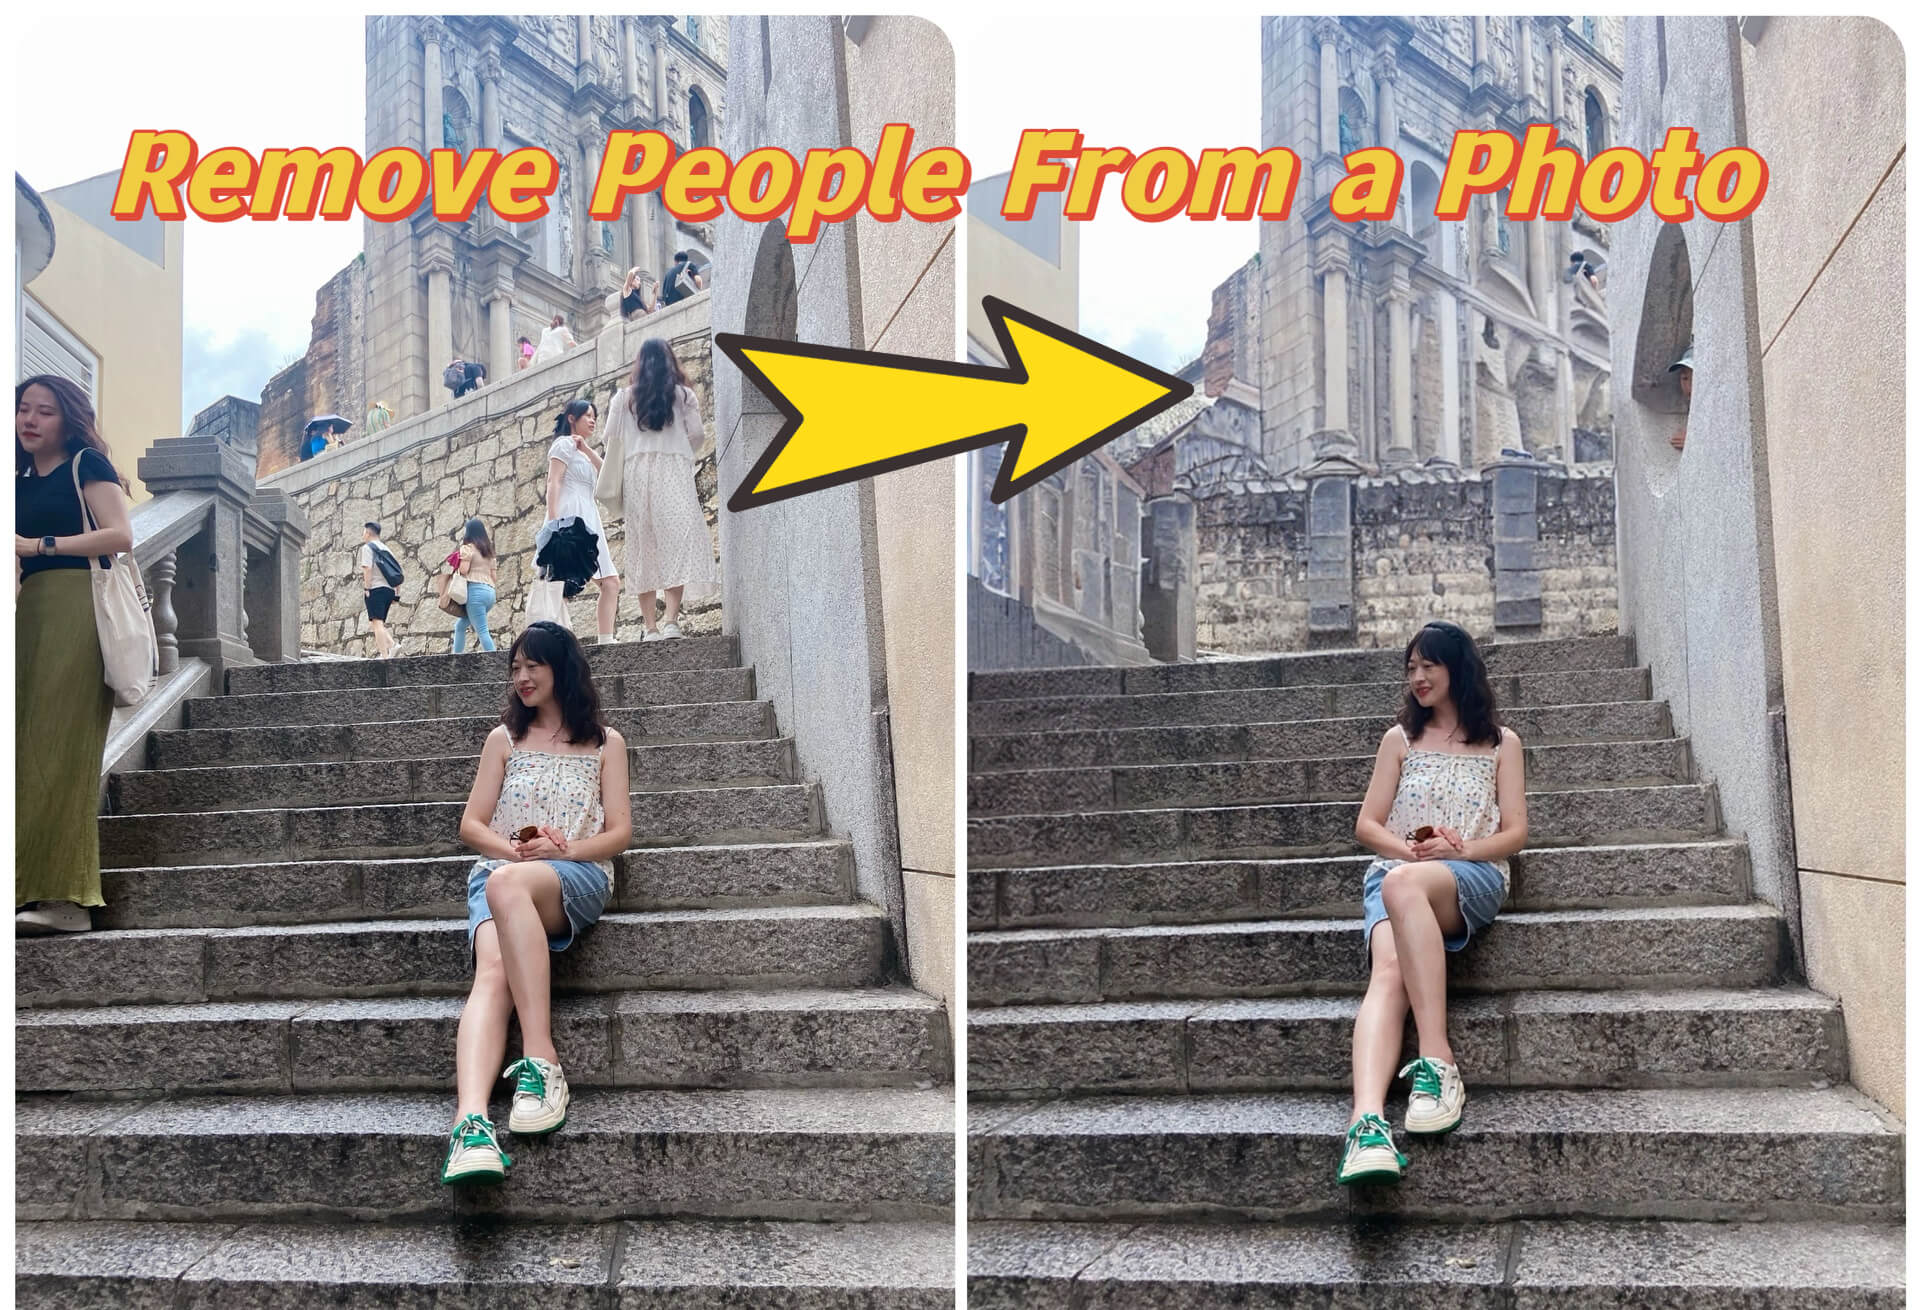
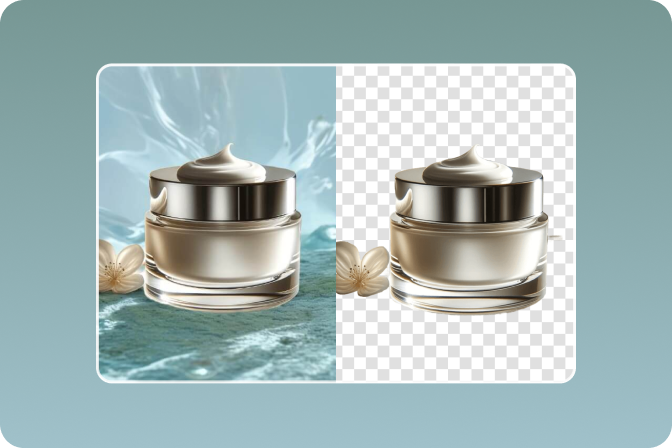
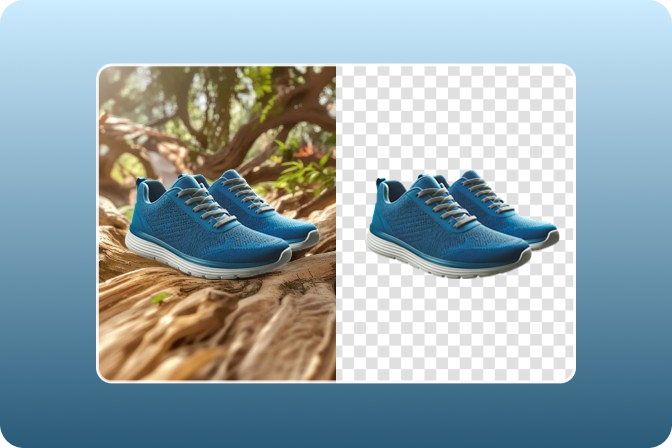
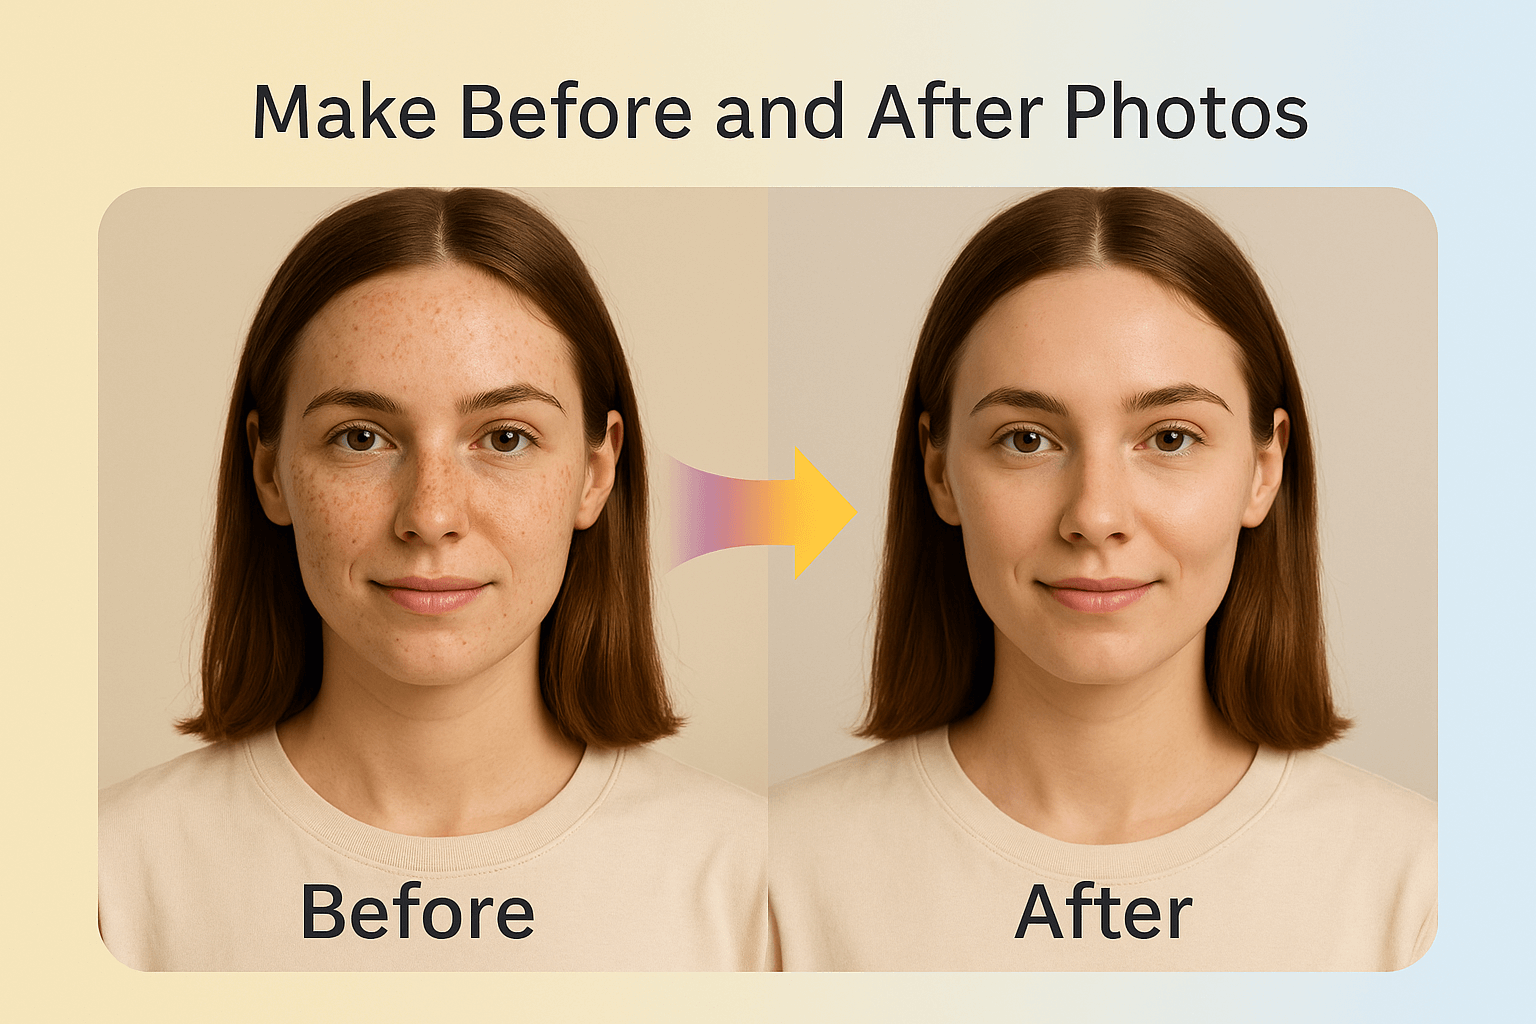
In the modern digital era, before and after pictures are being used by many industries. Whether demonstrating how your body has improved, your skin is different, your home is new or a product made a difference, these comparative pictures are stunning proof of change.
Besides telling stories, they help create trust and reliability in the minds of the audience. There's no need for advanced tools or skills to take impressive transforming pictures. Using insMind's Photo Collage Maker and Add Text to Photo, creating professional comparisons is now easy for everyone.
These easy-to-use and free tools support you in bringing out the key points of any transformation, thus making your presentations more convincing.
Table of Contents
Part 1. The Power of Before and After Pictures
Using the before and after picture creator is something that everyone needs for their images to their business progress. These images have use cases in multiple fields, including the following.
· Fitness Progress

Photos taken before and after exercising are very important in fitness. No matter the goal, these images clearly show difference as time progresses. When you create before and after photos, they allow you to monitor your progress, encourage people around you and confirm that your routine or diet works. A picture often communicates more than a lot of text.
· Skincare Results

Skin changes may occur gently and over time, making photos that compare before and after very useful. Side-by-side images clearly show any improvement or loss in skin tone, acne, wrinkles or skin hydration.
· Product Demonstrations

Before and after images demonstrate to brands and creators the outcome of using their product or service. Using these sorts of photos is a keyway to promote cleaning sprays, hair dye and beauty treatments. The before and after photo maker specifically showcases transformation, performance and consistency which benefits their role in online selling and advertising.
Part 2. How to Make a Before and After Picture – Step-by-Step Guide
It is simple to make attractive before and after images using the tools from insMind.
Take a look at this step-by-step how to make a before and after picture below:
Step 1: Open the Photo Collage Maker

Head to your browser and open the insMind website. From its tools section you will need to open the photo collage tool.
Step 2: Upload Your Before and After Photos

Now, click on "upload photos" button and now you will upload your before and after photos to insMind.
Step 3: Add Text Labels to Each Side

Use the left menu pane to locate the "Text" tool and add text labels to the collage made by insMind. Here you have complete control to change the font size, color, style, and text placement according to the theme and style of your image. This way you can label your before and after images with ease.
Step 4: Final Adjustments and Download

The last step when using our before and after picture generator will be making your final adjustments. You can work on your image spacing and boundaries. Check the layout and the zoom level of your images to make sure that you are including all the important details.
Once you are satisfied with insMind's results you can click the "Download" button, and the image will be immediately saved on your offline storage. Now it is ready to be shared on any social platforms without any issues.
Part 3. Tips for Creating Better Before and After Photos
To increase how valuable your before and after pictures are,
· Use consistent lighting and angles in both photos
Keeping the lighting and camera position the same ensures that the footage looks realistic. Take both photos under the same conditions to avoid getting misleading information.
To avoid shadows or enhance the transformation inaccurately, light it naturally or choose a fixed backdrop.
· Avoid overly edited or filtered results.
Try to keep the editing simple to keep everything realistic. Excessive digital changes, such as heavy editing, might result in images that do not appear true to life. Trust in your experience is greater when your photos have not been edited. It is more impressive to see real changes than pictures altered with technology.
· Maintain symmetry between the two shots.
When a design is symmetrical, it makes the before and after comparison look smoother. Position the subjects correctly so the focus in the camera does not change.
Strong visual stimuli such as the orientation of people's faces or their posture, should remain unchanged. Simply adjusting this makes the difference noticeable and much easier to grasp.
· Use HD images for professional results.
Low-quality images may make your look less remarkable. Always use high-resolution photos to sharpen your images for a professional look. HD pictures allow audiences to spot the minor changes such as in someone's skin or body, that help create a more authentic look.
Part 4. Why Choose insMind for Your Visual Comparisons
insMind offers several useful features for designing before and after photos.
· Simple and User-Friendly Interface
All the tools on insmind.com are created so that they are simple to use. Having design skills is not required to make effective before and after pictures. Customizing your site feels natural, is user-friendly and is easy to do with drag-and-drop features and a fresh layout.
· Customization with Professional Tools
With InsMind, you have the freedom to adjust your design by modifying borders, text and layouts. Your collage will look great as you can adjust the colors, select decorative fonts, size your images and change how everything is aligned.
· No Installations Required
You don't have to download any software or applications, since insMind is accessible through your browser. With this tool, you can take attractive before and after shots from any device: laptop, tablet or phone. It can be used when you don't have time for editing and it also eliminates the need for more apps on your phone.
· Text Editing Has Never Been Easier
Including descriptions, labels, or captions with images on insMind can be easily done and changed as needed. You can pick the font, decide on the size, choose your favorite colors, and select how you want everything to appear. Whether for a fitness or product picture, this feature clarifies the photo and gives it more information.
· Quick Results with Templates
There are automatic collage templates ready to use on insMind, so you reduce time and still achieve an elegant look. When you have your before and after photos, make any changes you want, and you can start using the app. You should use this if you need something fast or want immediate, attractive layouts.
Conclusion
Showcasing both the initial and final photographs lets your customers see the changes, believe in you and remain interested. By using insMind's Photo Collage Maker and Add Text to Photo, anyone can make these impressive images effortlessly. Regardless of whether you need to highlight your achievements, showcase your products' results or display your services, insMind has all the resources to make your story clear.
Are you excited to reveal your new looks? You can start photographing your transformations using insMind today.
Ryan Barnett
I'm a freelance writer with a passion for editing and designing photos. Here at insMind, I strive to educate users on image creativity, photography, and enhancing product photos to help grow their businesses.





































































![How to Add Logo to Photos Online for Free [The Simplest Method] How to Add Logo to Photos Online for Free [The Simplest Method]](https://static.xsbapp.com/market-operations/market/side/1718795949162.jpg)
![How to Remove Tattoos from Photos [Ultimate Guide 2025] How to Remove Tattoos from Photos [Ultimate Guide 2025]](https://static.xsbapp.com/market-operations/market/side/1718787534476.jpg)
