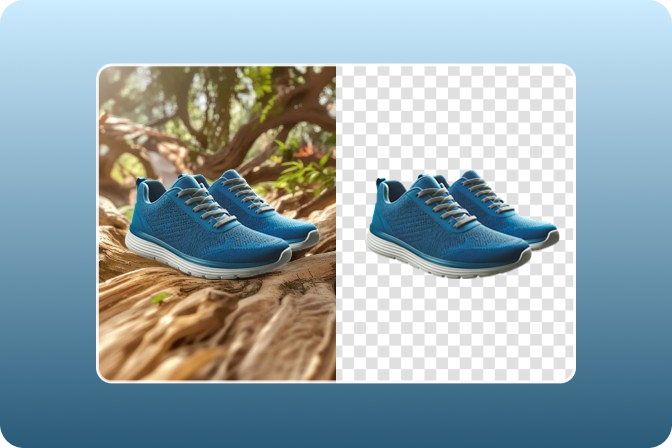
Product photography plays a significant role in how your product should look online.
A good product image stops users from scrolling and checking out your product.
That makes it even more essential to understand how to do product photography that leaves an impact, whether it is for Amazon, Etsy, or your own website.
The best part is that you do not need to spend a lot of money or buy fancy equipment. You don't need to be an expert to get good product images.
It's really easy and quick!
Let me tell you about it in detail in this blog ahead. Keep scrolling to learn!
Table of Contents
How to do product photography: detailed steps
In product photography, there are lots of aspects that matter, which is why capturing good product images is important.
Let's check out how you can do your product photography perfectly, step by step:
Step 1. Camera check
A DSLR or mirrorless camera fits best.
Set ISO to 100–200 to keep the picture clear. Use f/8–f/16 so the whole product is sharp. Change shutter speed for brightness, and match white balance to your light for true colors.
If you don't have a camera, you can also use the rear camera of your smartphone.
Step 2. Take care of the lighting
You can use soft light, like natural daylight, or you can have window light.
Place the key light at a 45-degree angle to the product, and use a reflector or extra light, which will reduce the shadow and illuminate well.
It's better not to mix different colors.
Step 3. Get a tripod
It helps minimize shaky photographs and keeps your camera still.
A tripod helps you take clear photos and keeps the camera in the same spot for each shot.
That makes all your pictures look neat and the same!
Step 4. Set a background
Choose the right background that highlights your product.
A solid background with a light color goes well with most product items, keeping your product in full focus.
For creative photography, you can have color and texture that match your brand, too.
Step 5. Now, shoot multiple angles
Try shooting with different angles to give consumers a full look.
Show your product from the front, sides, and back. Scale pictures for size and close-ups.
This makes it simpler for customers to know exactly what they're getting.
Step 6. Finally, post-processing
After your shoot is done, you can edit further for refinement.
There are many product photography apps and online platforms that can help you out.
Adjust the brightness, fix image colors, or clean up the image.
And that's it!
Easy and simple, right?
Now the process is done. But you know, to ace it, there are a few types of product photography that you can explore.
Let me share those with you ahead.
Popular types of product photography
There isn't just one type of product photography.
There are many different kinds of purposes and, of course, products.
And trust me when I say that the right kind of photography can really make your product shine.
Take a look at them here:
1. Single product shoot
It is usually seen on a plain background, which looks clean and focuses on the product.
Example: A high heel photoshoot on a white backdrop for an online store.
Best for: product catalogs, e-commerce listings, and packaging.
2. Group product shot
Capture multiple products in a single photo. They can be different items from a set or the same items in different colors.
Example: Skincare set showing cleanser, toner, and daily lotion all together.
Best for: Promos, product offers, and combo deals.
3. Packaged product shot
A product inside the package helps in branding and gives a client a clean view of what they are getting.
Example: A packed perfume with its brand name visible.
Best for: eCommerce listings, retail displays, and ads.
4. Lifestyle Shot
In simple words, a product shot that shows the product in use is a lifestyle shot.
Example: Sunglasses placed on an open book with a pool view.
Best for: Brochures, advertisements, social media—anything that tells a story.
5. Close-up or detail Shot
It's a zoomed shot to show the product's material, texture, and tiny details.
Example: A close-up shot of a leather wallet highlighting the stitching and texture.
Best for: Highlighting quality, design, or tech details.
6. Flat lay shot
A flat lay shot is one where the product is placed in a clean place and shot from a top view.
Example: Top view of product nicely arranged on a marble surface.
Best for: Social content, fashion, food, and accessories.
7. Scale shot
It uses hands or other items as a way to show the size of the product.
Example: A coffee mug with a tiny candle to show balance.
Best for: Helping customers become familiar with the actual size.
There you go!
You can choose any based on your product, purpose, or the platform you are aiming for.
Now, let me quickly share some product photography tips with you that come in really handy.
Pro tips for product photography

A few simple tips, and you can bring all your product photography ideas to life like professionals!
- Make a template for reusable shooting: Mark the camera and light for future photoshoots to look consistent.
- Use the camera grid for live preview: You can watch your shoot using grid lines to make sure everything is good while shooting correctly.
- Try visual hierarchy: Make sure your product is highlighted well; props should support the product, not compete.
- Stick to similar lighting: Do not mix daylight with artificial light, as it can create color imbalance in your shoot, which is hard to fix.
- Benefit from the blank space: Do not fill the whole space. Minimal props let the product look clear. You can have space to add text later.
- Avoid changing lenses: Switching lenses in the middle of the shoot can change the depth and affect the whole image.
- Preview shot closely: Before closing the shooting session, check for small mistakes like dust, spots, or the focal point.
- Protect your product images from getting stolen: Make sure your product images are not being used without your consent with lenso.ai reverse image search. This image search engine finds copies of your photos anywhere online, returning edited or identical copies of your photo. You can also set up free alerts for the images of your products and receive emails whenever a copy is found online.
That's it, and you are good to go!
Just a few simple yet effective tips.
Now, there are some common product photography mistakes, as well, that you should take into account.
Let's understand.
Common mistakes to avoid in product photography
There are a few common mistakes that may not sound so important but greatly affect how your product photography turns out.
- Poor lighting: Using dim light can make the shoot look dull or give unnecessary shadows or strange color tones.
- Messy background: Ensure there is no messy background. Try to use a solid background unless you are doing a lifestyle shoot.
- An untidy product: An untidy product when shooting can ruin your overall image. Always clean your product.
- Not using a tripod: Not using a tripod results in shaky and blurry images. It is better than holding the camera in your hand.
- Over-editing: Too much editing can make the image look unrealistic. Do it appropriately for a more natural-looking image.
- Only one angle: Using one angle only is limiting. Customers often wish to see the product from all angles. So, try to take close-ups, front-views, etc.
- Inconsistent style: Different lighting, colors, or backgrounds in pictures can make the brand look messy. Instead, use the same light and colors to keep the same style in all images.
Done and dusted.
You avoid these mistakes, and nothing can stop you from getting expert-like product shots.
Now, if you wish to skip all this effort, there's AI to the rescue.
Let's discover it in detail.
Use AI for product photography

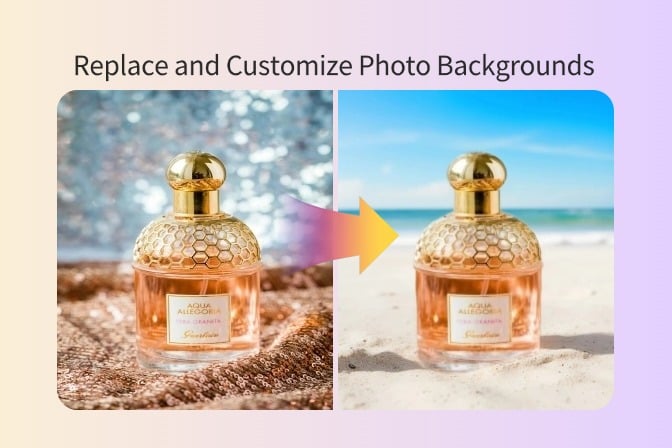
Beyond traditional product photography, you can capture excellent product photos without a physical setup by using AI tools like insMind or LightX.
No studio, lights, or props are needed. All you need is a clear, focused picture of your product.
AI product photography generates realistic product photos in different background settings or scenes. AI ensures your product looks natural and integrates smoothly with the background.
Now, to get this, you can provide text prompts or choose from preset options.
It's a quick, flexible way to obtain perfect product pictures, whether of skincare products, clothes, home decor, or anything else for your marketing campaigns, social media, or online stores.
Sum up
As we see, the importance of good photography is immense. It directly impacts users.
When users find good, eye-catching product images, there are higher chances of them buying the product.
And, now that you know how to do product photography like a pro with this blog, go ahead and let those sales soar!
Ryan Barnett
I'm a freelance writer with a passion for editing and designing photos. Here at insMind, I strive to educate users on image creativity, photography, and enhancing product photos to help grow their businesses.



































































![How to Add Logo to Photos Online for Free [The Simplest Method] How to Add Logo to Photos Online for Free [The Simplest Method]](https://static.xsbapp.com/market-operations/market/side/1718795949162.jpg)
![How to Remove Tattoos from Photos [Ultimate Guide 2025] How to Remove Tattoos from Photos [Ultimate Guide 2025]](https://static.xsbapp.com/market-operations/market/side/1718787534476.jpg)
